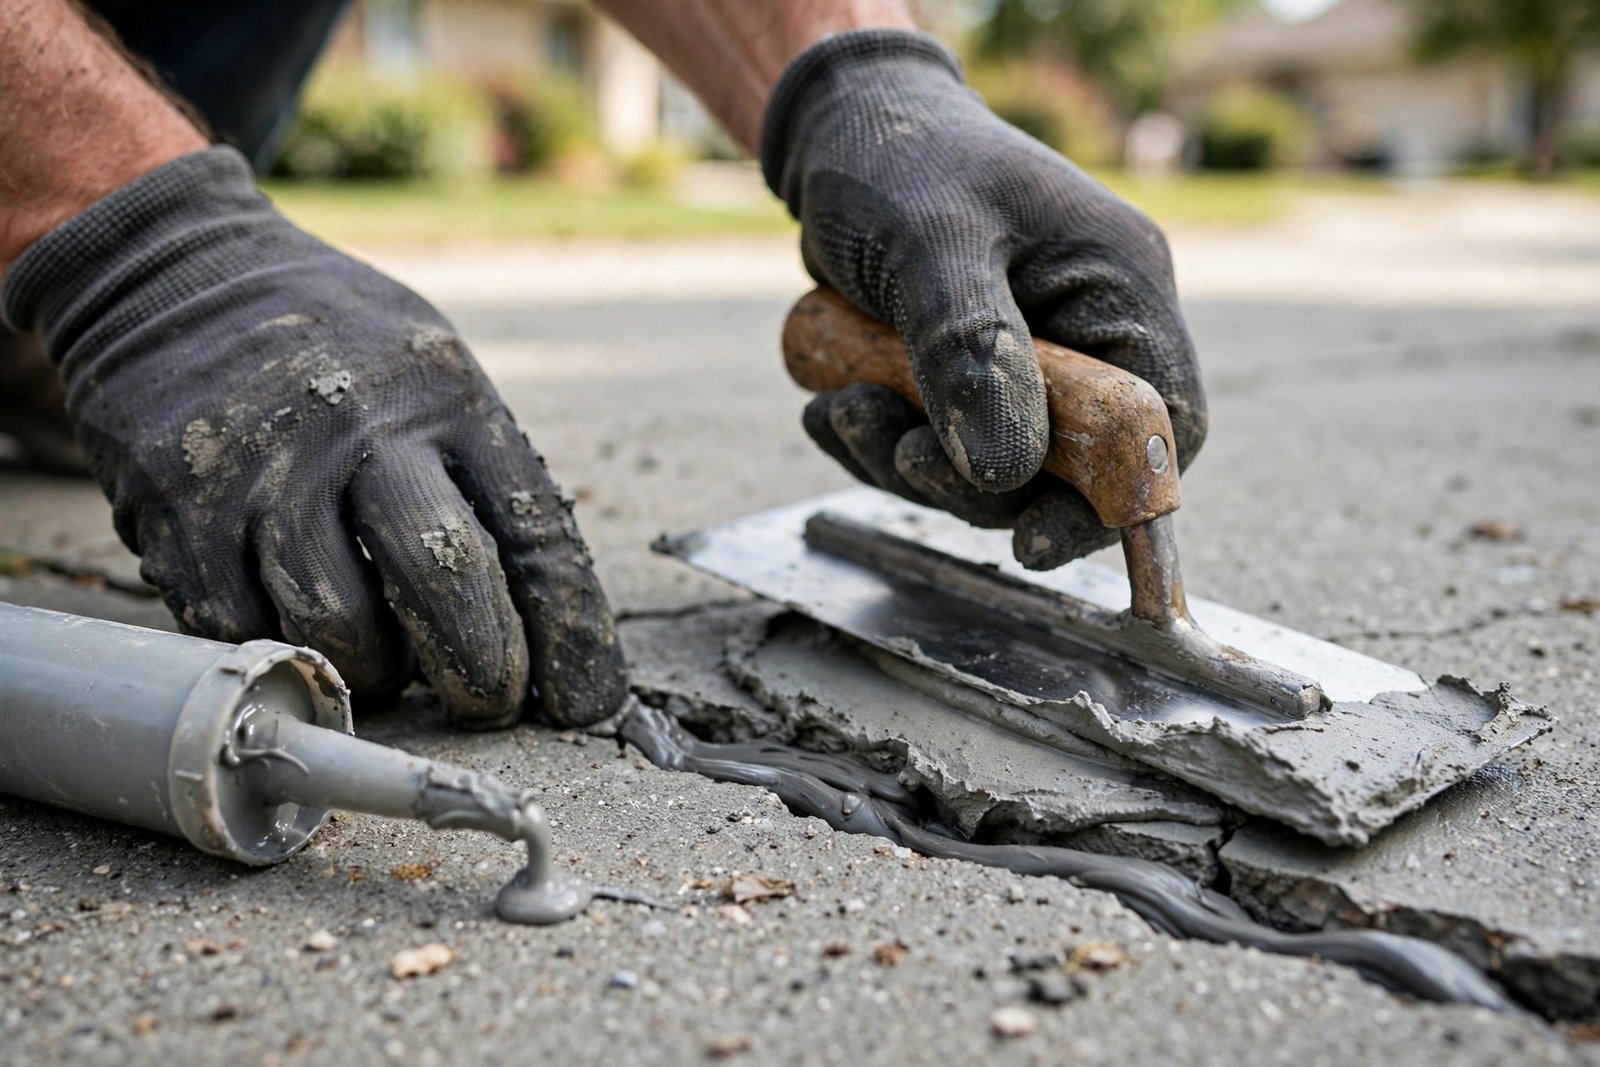
Fix it right, or replace it right
Before you replace concrete, ask whether it can be saved. Crack repair, slab lifting, joint sealing, and resurfacing cost a fraction of replacement — and when replacement is the right call, we handle the demolition and haul-off too. Send us a photo of what you’re dealing with.
Crack Repair
Professional crack repair — routing, epoxy injection, and stitching matched to the crack type and cause.
Slab Lifting & Leveling
Sunken slabs raised back to grade with polyurethane foam or mudjacking — faster and cheaper than replacement.
Joint Caulking & Sealing
Control-joint caulking and surface sealing that keep water and deicers out of your concrete.
Demolition & Haul-Off
Concrete tear-out, breaking, and debris removal — the first step to any replacement project.
Grading & Base Prep
Site grading, excavation, and compacted base preparation — the foundation every lasting slab starts with.
Repair or replace? The decision guide
This is the question behind every repair call, and it deserves an honest framework rather than a sales pitch. Concrete repair makes sense when the damage is local and the base underneath is still doing its job. Concrete replacement makes sense when the damage is systemic — when fixing the surface would be painting over a structural problem. Here’s how we sort it.
Repair is usually right when: cracks are isolated and the slab panels are still level with each other; a section has settled but the base material is still present and competent underneath (it just needs to be lifted back, not rebuilt); the surface is spalling in patches while the slab itself is solid and level; joints have lost their sealant but the panels haven’t moved; or the concrete is sound but ugly — stained, faded, dull — which is a resurfacing or coating question, not a structural one. These are the cases where a few hundred to a few thousand dollars of targeted work buys many more years.
Replacement is usually right when: the slab has settled or heaved across most of its area (lifting individual panels won’t fix a failed base); cracks run in patterns that show the slab is breaking apart rather than cracking at joints; the surface is spalling or scaling across more than roughly a third of the area; there’s alligator-pattern cracking that signals base failure; tree roots have destroyed the subgrade; or previous repairs have already been tried and the problem came back. There’s also a math threshold worth knowing: when the cost of comprehensive repairs approaches half or more of replacement cost, replacement is usually the better investment — you get a new base, new drainage, and a full lifespan instead of an extended old one.
The gray zone is where diagnosis earns its keep. A driveway with one settled panel and good concrete everywhere else is a lifting job. The same driveway with settled panels, widespread cracking, and a base that pumps water when you step on it is a replacement. We’ll tell you which one you’re looking at, and why — including the cases where the honest answer is “repair it now, plan for replacement in five years,” which is sometimes the right budget decision.
Reading your concrete: what the damage is telling you
Concrete damage is a language, and it describes causes, not just symptoms. Hairline cracks that wander randomly across a slab are usually shrinkage — the concrete cracked as it cured, and if the panels are level, it’s cosmetic. Cracks that follow a straight line where a control joint should have been mean the joint was missing, too shallow, or too late — the concrete told you where it wanted to crack. Cracks with one side higher than the other mean movement: settlement on the low side, heave on the high side, and the repair has to address the movement, not just fill the gap.
Spalling — the surface flaking or peeling away — is almost always a freeze-thaw and deicer story: water got into the surface, froze, and popped it off, with salts accelerating the damage. It starts as cosmetic and becomes structural as it deepens. Scaling is spalling’s milder cousin, a surface-only flaking common on new concrete hit with deicers too early. Settlement shows as slabs that have dropped at edges or corners, often with water now ponding where it used to drain — the base underneath consolidated, washed out, or was never compacted. Heave is the opposite: slabs pushed up, usually at joints, from frost, expansive soil, or tree roots. And the classic trip hazard — one sidewalk panel an inch higher than its neighbor — is usually one panel settling while the other stays put.
What matters in all of this is that the visible damage points to an invisible cause, and lasting repairs fix the cause. Filling a crack without addressing the water that’s moving the slab is a seasonal ritual, not a repair. That’s why our estimates include the diagnosis, not just the patch.
How each repair works
Crack repair starts with matching the method to the crack. Non-structural cracks get routed — cut into a clean V or U groove — and filled with a flexible sealant that bonds to both sides and moves with the slab. That’s the right treatment for shrinkage cracks and stable joints: it keeps water out, which is what prevents a cosmetic crack from becoming a structural problem. Structural cracks, or cracks in foundation walls where water is coming through, get epoxy injection: ports are set along the crack and low-viscosity epoxy is injected under pressure, filling the crack through the full depth of the concrete and restoring structural continuity. Wide or actively working cracks can be stitched — steel staples set across the crack in routed slots, locked in with epoxy — which holds the two sides together while still allowing the slab to behave as one piece. The method follows the diagnosis; anyone selling one method for every crack is selling, not diagnosing.
Slab lifting and leveling raises sunken concrete back to grade without tearing it out. Small holes are drilled through the slab, and material is pumped underneath to fill voids and lift the panel. The two materials are polyurethane foam and cementitious slurry (mudjacking). Foam is lightweight — it doesn’t add significant load to weak soils — expands to fill voids completely, cures in minutes, and needs smaller holes; it’s the modern standard for most residential lifting. Mudjacking uses a heavier cement-based slurry, costs less per job, and works well where the soils can carry the added weight and the lift needed is large. Both require the same judgment call first: is the base still there to lift against? Lifting a slab over a washed-out void it will just settle into again is wasted money — which is why we probe and assess before we pump.
Joint caulking and sealing is the most underrated maintenance in concrete. Control joints and isolation joints are designed to move, and the sealant in them is what keeps water from pouring straight down to the base. When sealant cracks, pulls away, or disappears, every rainstorm injects water under your slab. We rout out failed sealant, install backer rod at the right depth, and apply a proper polyurethane joint sealant — not hardware-store caulk, which doesn’t survive the movement or the UV. On a driveway or lot, resealing joints is one of the highest-return dollars in concrete maintenance.
Grading and base prep is repair at the root: regrading soil so water flows away from slabs and structures, excavating failed base material, and placing and compacting proper aggregate. A surprising share of “concrete problems” are really grading problems — the slab is fine, but roof water, irrigation, or the lot’s slope is delivering water where the base can’t handle it. Fix the water, and the concrete stops moving.
Demolition and haul-off is where replacement starts: saw-cutting, breaking, loading, and trucking away the old concrete, which is typically recycled as aggregate base material. Clean demo matters more than it looks — the new slab’s base and grade start from the hole the demo leaves, so we excavate to the right depth and leave a clean, uniform subgrade rather than a rubble-strewn pit.
What a repair visit looks like
Most repair projects are refreshingly short compared to replacement. A crack-repair or joint-sealing visit is often a single day: assess, prep, repair, clean up. Slab lifting is typically done in hours — drill, pump, lift, patch the holes — and the slab is usable almost immediately, which is why it’s so popular for driveways and walks that can’t be out of service. Grading and base-prep work runs a day or two depending on scope. Demolition for a replacement project is usually a day for a residential driveway, with the new pour following once the subgrade is prepped and approved.
The estimate visit is where the real work happens: we read the damage, check for movement and water, probe the base where we can, and tell you whether you’re looking at repair, replacement, or the honest middle option. Photos help enormously — text or email them ahead of time to contact@coloradospringsconcreteworks.com and we’ll arrive already thinking about your situation.
What drives repair cost
Repair pricing follows scope and access more than square footage. Crack repair prices with the length, width, and number of cracks and the method required — routing and sealing is straightforward; epoxy injection and stitching are more involved. Slab lifting prices with the number of panels, how far they’ve dropped, and the void volume underneath; foam and slurry price differently. Joint sealing runs by the linear foot, with condition of the old joints affecting prep time. Grading and base work prices with the volume of material moved and the access for equipment — a backyard that only fits a mini skid-steer costs more per yard than an open lot.
The honest cost conversation includes the repair-versus-replace math: we’ll quote both when it’s close, so you can see the comparison. And we’ll tell you when a repair isn’t worth doing — a slab that’s going to need replacement in two years regardless doesn’t need a premium repair now; it needs a plan.
After the repair: keeping it fixed
A repair is only as permanent as the conditions around it. After crack repair or lifting, the maintenance priorities are water management and joint health: keep gutters and downspouts discharging away from the slab, don’t let irrigation soak the base, and keep joints sealed. After lifting, give the slab a season of observation — if it was going to move again, the first wet-dry and freeze-thaw cycles will tell you, and we’d rather hear about it early.
Reseal on schedule — exterior concrete every two to three years — because the sealer is what keeps deicers and water out of both the repair and the surrounding concrete. And keep an eye on the cause we fixed: if tree roots were the problem, the roots are still growing; if drainage was the problem, check that the drainage still flows after the first big storm. Repairs don’t fail randomly; they fail when the cause comes back. A five-minute seasonal check is the warranty you give yourself.
Repair FAQ
Can a cracked driveway be repaired, or does it need replacement?
How does slab lifting work, and how long does it last?
Foam lifting vs. mudjacking — which is better?
Will the repaired crack disappear?
Can you fix a trip hazard on my sidewalk?
Why does my concrete keep cracking in the same place?
Is spalling repairable?
How soon can we use the concrete after a repair?
Do you haul away the old concrete?
Can repairs be done in winter?
Will you tell us if a repair isn’t worth it?
How do we prevent the problem from coming back?
What to expect when you call
Repair calls start with what you’re seeing. When you call (719) 555-0134 or email contact@coloradospringsconcreteworks.com, describe the damage — cracks, settling, spalling, water — and send photos if you can; a few clear pictures let us arrive with a working theory. At the site visit we read the concrete like a diagnostic: crack patterns, movement, base condition, water sources. Then you get a straight answer — repair, replacement, or the honest middle — with a written quote for the recommended work and real numbers on the alternative when it’s close. No pressure, no single-product pitch. The visit is free, the diagnosis is honest, and the next step is simply scheduling the fix. Send the photos whenever you’re ready.